
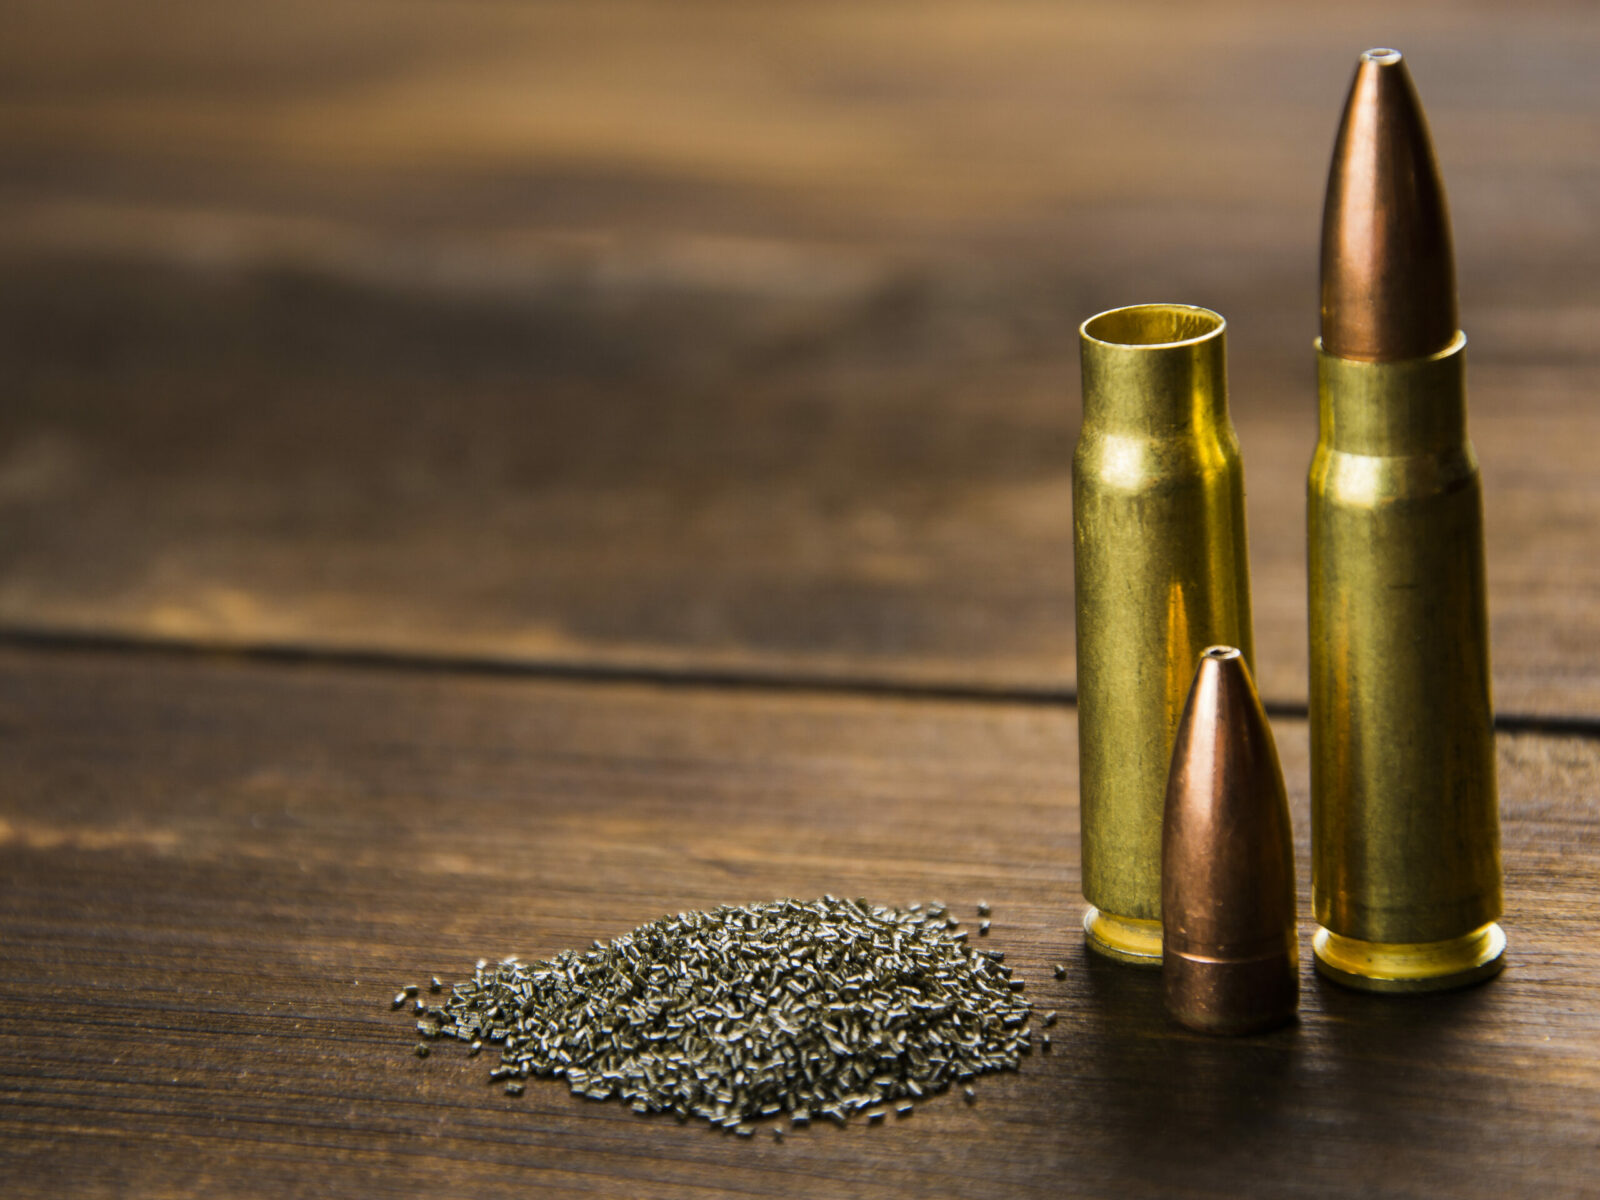
Let’s all be honest here. We wouldn’t be reloading if we weren’t (at least in part) thrifty. So we are never going to pay for the perfect reloading bench. But considering money is ALWAYS an object, there are better uses for your money than others.
For me, there are two primary components to the basic structure of a reloading bench.
- It needs to have adequate space to not be cramped when I work.
- It needs to be heavy and sturdy enough to handle the forces involved in reloading and potentially bullet swaging.

Materials and Dimensions
I built my bench using 2×4’s, plywood, 2.5-inch sheetrock screws, construction adhesive, and a layer of poly on the top piece of plywood. The 2×4’s add strength and weight. The plywood adds rigidity and storage space. The poly coating makes for simpler cleaning of debris, spilled powder, and other incidentals.

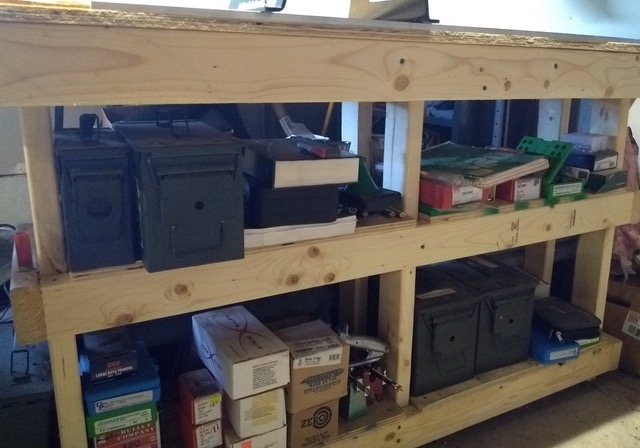
My bench is 72-inches long by 20-inches deep and 36-inches high. It has two 14-inch deep shelves under the top. I use these to hold projectile boxes as well as ammo cans filled with dies and other tools. This provides me with plenty of access to commonly needed tools and bullets as well as room to store other things like reloading books. It also helps to increase stability by adding weight.

Behind my press is an industrial shelving unit filled with boxes of brass, less commonly used projectiles, and all sorts of other heavy things. My bench is bolted to this shelving for the extra stability created by its width and weight. You may choose to anchor your bench to a wall to create the same effect. It also provides a means of attaching a piece of luan board along the backside to help with lighting and organization.

Construction
The bench itself is framed with 2×4’s. The tabletop has a double frame of 2×4’s that support a double layer of glued and screwed plywood for the top. The topmost layer of plywood (1/2-inch) is cut to allow flush-mounted aluminum U-rails. The lower layer of the top is 3/4-inch. This provides a solid anchoring surface for the U-rails. They take 5/16 hex bolts for mounting the stands I use for my presses and other tools. Using them allows me to easily rearrange the position of my press, powder measure, or other tools as is needed, without having to drill new holes into the table’s surface.
My common tools are all attached to either four-inch or 9 5/8” Inline Fabrication quick-change mount bases. Each tool or press has a quick-change top plate permanently attached, so I can switch items out very quickly. The tall (9 5/8”) mount also provides much stronger support and brings the working area up to a convenient level for working while standing or sitting in my bar stool. This height also makes for better ergonomics when pulling the extended lever.
I typically use the four-inch for my powder measure, as I run that while seated and a top-down look is better for checking powder fill level.
Key Features
The quick-change nature is important as I don’t switch out dies, I switch out presses, depending on the type of loading I am doing. For example, I have a Dillon Square Deal B set up for bulk runs of 9mm. When I have to change to another caliber, I have a second Square Deal B that I can set up for .38 Spl/.357 Mag, .40 S&W, or .45 ACP. Any other pistol rounds are in small enough volume for the Forster Co-Ax.
I have a Dillon 650 set up for 5.56 NATO bulk production. I can keep these presses in tune and ready to go for my most commonly shot calibers. With a simple removal and reinstallation of two thumbscrews, the presses swap out in less than two minutes.
For other bulk rifle production, the 650 setup must be changed out to accommodate the caliber. I have spare components that simplify that process for 6.5 Creedmoor or .270 Win. I don’t shoot enough of anything else to make the changes worth the time. This means most everything else is run on the Forster Co-Ax.
Load testing and precision loading also fall to my Forster Co-Ax press. If I need more dramatic changes to the space, it takes about five minutes to remove the 5/16 bolts and the entire base assembly can be relocated along the track or removed completely. I keep the commonly used Square Deal B and the Forster Co-Ax presses on an Inline Fabrication double storage dock. This is mounted on the far end of the bench, up high.
I have a single storage dock for the Dillon 650. It is set so the height with the optional case feeder still fits under the ceiling, but the press is out of the way.

Other Additions
There is also space below and beside the reloading bench to fit my two Lyman tumblers. One is used for preliminary cleaning. It has fairly used walnut shells that do a first clean. This is especially helpful when I buy lots of once used brass. Depending on the lot, it sometimes has quite a bit of dried mud along with the cases.
Then the cases are moved to the second tumbler with much newer walnut shells and one tablespoon of an automotive car-buffing compound. The compound helps to shine the cases and capture resulting dust.
My setup is not perfect, but it works very well for me. I have a 3,800 lumen overhead LED shop light directly over the bench. I prefer the color spectrum of LED and fluorescent lights play havoc with certain digital scales.

Final Thoughts
I realize my reloading bench setup is not typical. If for no other reason, I have more presses than your average reloader, but the basic principles are solid and easily adapted to anyone’s needs. Build it heavy and solid and you will have a much easier time loading. The use of raised mounts also adds strength and ergonomic advantage to the process. For me, the biggest upgrade from my last bench was the aluminum U-rails and the inherent adjustability they provide.
What is your perfect reloading bench setup? Let us know in the Comment section below!
Editor’s note: This post was originally published in March of 2021. It has been completely revamped and updated for accuracy and clarity.